Webcam Placement and Lighting Tips for a Better Stream
Practical, low-cost adjustments to webcam angle, distance, and lighting that improve your on-camera look far more than buying a new webcam.
Practical, low-cost adjustments to webcam angle, distance, and lighting that improve your on-camera look far more than buying a new webcam.
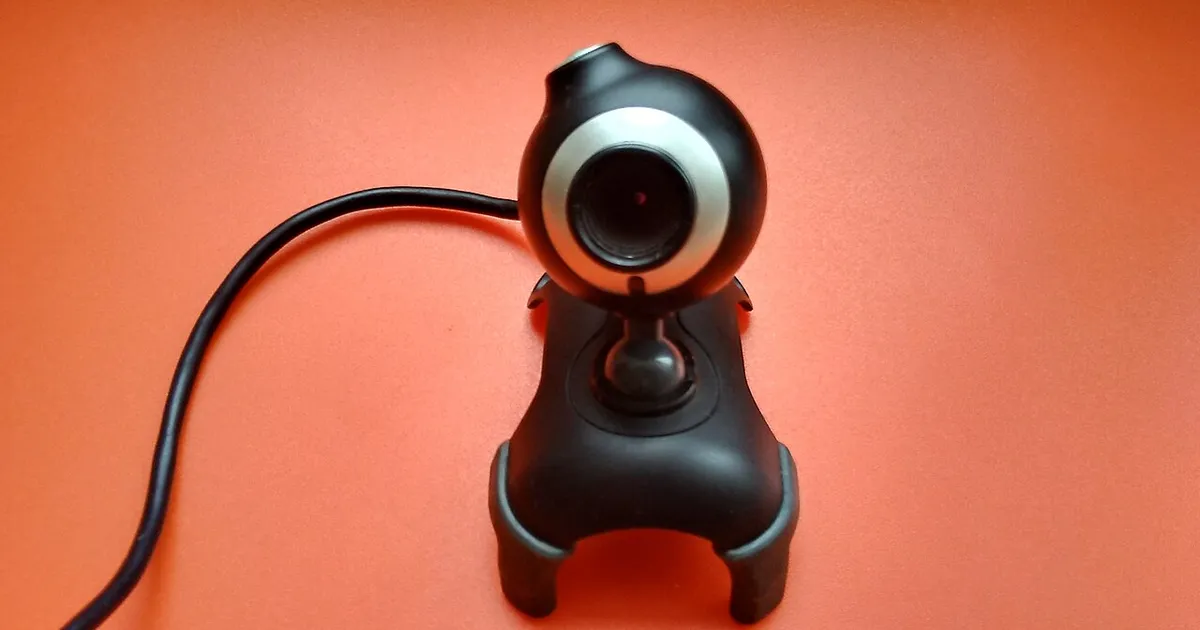
Photo by WrS.tm.pl / Wikimedia Commons / CC0
Before spending more money on a better webcam, it’s worth fixing placement and lighting first — these two free-or-cheap adjustments improve on-camera quality more dramatically than most hardware upgrades. Here’s how to actually get them right.
Camera height and angle
The most common webcam mistake is mounting it too low, which creates an unflattering upward angle and awkward framing. Aim for the camera lens at or slightly above your eye level when you’re seated in your normal position. This usually means mounting on top of your monitor rather than a laptop’s built-in camera position (which is typically lower than a desktop monitor and often angled up).
If your monitor is tall enough that eye-level mounting isn’t possible, consider a small monitor riser or a separate camera arm/tripod positioned independently of the monitor — this gives you full control over height and angle without depending on your screen’s exact position.
Distance from the camera
Too close, and the lens introduces distortion (a wide-angle “fisheye” look that exaggerates your nose and face shape). Too far, and you lose detail and presence, especially at lower resolutions where the subject becomes a smaller portion of the frame. A comfortable arm’s length to a bit more is a reasonable starting point — adjust from there based on how your specific webcam’s field of view renders at that distance.
Key light: your main light source
A key light is the primary light illuminating your face, and it matters more than almost any other single change you can make. Position it in front of you (not behind, which silhouettes you against your background) and slightly above eye level, angled down at roughly 45 degrees. This avoids flat, harsh lighting directly at face level while still fully illuminating your features.
You don’t need a dedicated “streaming light” to start — a desk lamp with a diffuser (even a piece of paper or fabric over the light) or a window with indirect daylight can work as a functional key light. The specific fixture matters less than the direction and diffusion of the light.
Avoid backlighting problems
A common issue: sitting with a window or bright light source behind you. Cameras generally expose for the brightest part of the frame, which means a bright background light can make your face appear dark or silhouetted even in an otherwise well-lit room. If you can’t avoid a window behind you, close blinds/curtains during sessions or add a stronger key light in front to balance the exposure.
Fill light and reducing harsh shadows
A single key light alone can create hard shadows on one side of your face. A second, dimmer fill light positioned on the opposite side softens those shadows without eliminating depth entirely. This is optional for casual streaming but makes a visible difference for anyone spending significant time on camera — even an inexpensive second lamp positioned correctly helps.
Background and color temperature
Keep your background reasonably free of clutter directly behind your head, since it draws viewer attention away from your face. Also try to match light color temperature across your key light, fill light, and any ambient room/RGB lighting — mixing very warm (orange-ish) and very cool (blue-ish) light sources in the same shot can create an unnatural, mismatched color cast that’s hard to correct after the fact.
A simple setup checklist
- Mount the camera at or near eye level, arm’s length away.
- Add a key light in front of you, angled down at roughly 45 degrees, diffused if possible.
- Avoid strong light sources directly behind you.
- Add a fill light if hard shadows bother you.
- Check your framing and lighting on a test recording before going live, not during.
None of this requires expensive gear — a repositioned lamp and a slightly adjusted camera mount solve the majority of common on-camera lighting complaints. Treat placement and lighting as the first upgrade, and a new webcam as the second.