Lighting, Webcam, and Mic Placement: A Practical Streaming Setup Guide
How to position lighting, your webcam, and your microphone so viewers can actually see and hear you clearly, without buying anything expensive.
How to position lighting, your webcam, and your microphone so viewers can actually see and hear you clearly, without buying anything expensive.
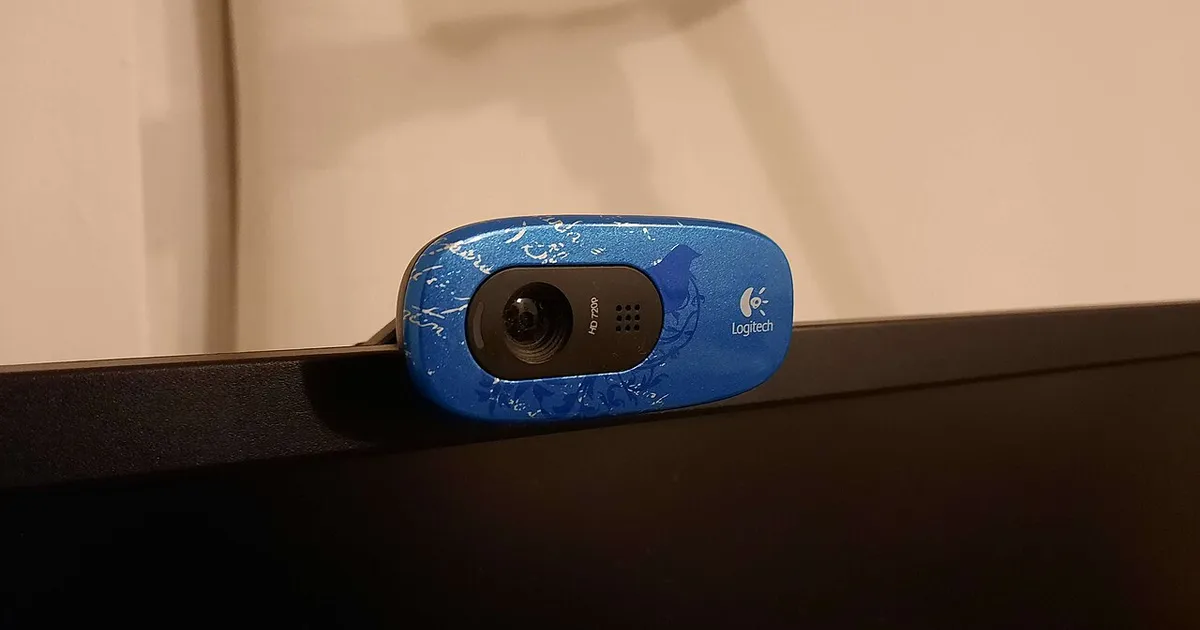
Photo by Peter Placzek / Wikimedia Commons / CC BY-SA 4.0
New streamers tend to spend their first budget on the camera and microphone themselves, then wonder why the stream still looks dim and sounds muddy. In practice, placement and lighting do more for perceived quality than the specs of the hardware. A modest webcam with good lighting in front of it will consistently look better than an expensive one lit from behind. Here’s how to think through the setup in the order that actually matters.
Light the subject, not the room
The single biggest jump in webcam picture quality usually comes from adding a dedicated light source in front of you rather than relying on ceiling or ambient room light. Overhead lighting alone tends to cast shadows under the eyes and nose, since it’s coming from directly above rather than from the angle a camera actually sees you at. A light positioned roughly at or slightly above eye level, angled toward your face from in front (or just off to one side), fills in those shadows and gives the webcam sensor much more to work with.
You don’t need a specialized product to start — a lamp with a diffused shade pointed at your face works, and many streamers already own something usable. If you do invest in a dedicated light, look for adjustable brightness and color temperature to match the room and avoid a harsh, oversaturated look. Position it before adjusting anything else; software correction can only do so much with a poorly lit source image.
Backlighting: window and background awareness
A bright window or light source directly behind you competing with the light on your face is one of the most common lighting mistakes. Cameras generally expose for the brightest part of the frame, so a bright window behind you can push your face into near-silhouette even with a decent front light. If you stream near a window, either face it (using it as your main light source) or close blinds/curtains during stream hours rather than sitting with your back to it.
Background lighting separate from your face light — sometimes called bias or accent lighting — is a nice-to-have rather than a requirement. It mainly helps separate you visually from the background and reduces eye strain from staring at a bright screen in an otherwise dark room, but it won’t fix a poorly lit face on its own.
Webcam placement and settings
Camera position affects how flattering and natural the shot looks independent of lighting. Eye level or slightly above is generally the most natural angle; a webcam mounted low and pointing up is one of the more common unflattering setups. If your webcam sits on top of a monitor that’s too low or too high for this, a small stand or arm that adjusts height is a low-cost fix.
Once lighting and position are set, check the webcam’s own settings — most capture software exposes brightness, contrast, and white balance controls. Auto white balance can shift color unexpectedly as room lighting changes through a session, so locking it once your lighting is stable often gives a more consistent look than leaving it on auto.
Microphone placement matters as much as the mic itself
Audio quality depends heavily on distance and angle to the microphone, regardless of how good the microphone is. Most mics — especially cardioid-pattern ones, the most common type for streaming — are designed to pick up sound best from directly in front, within a fairly short distance. Sitting too far away picks up more room echo and background noise relative to your voice; a mic mounted awkwardly off to the side loses clarity even at close range.
A boom arm that lets you position the mic close to your mouth (a common guideline is a few inches away, just outside the direct path of breath sounds) without it appearing in the camera frame is one of the more useful low-cost accessories available. If plosive sounds — the popping noise from hard “p” and “b” sounds — are a problem, a foam windscreen or a pop filter placed between mouth and mic solves most of it cheaply.
Room treatment: the free option
Hard, bare rooms with lots of flat parallel surfaces reflect sound and create an echo that a microphone will pick up no matter how good it is. You don’t need dedicated acoustic panels to improve this — rugs, curtains, bookshelves, and soft furnishings all absorb sound and reduce reflections. If your room sounds echoey when you clap or speak loudly with the door closed, that same echo is reaching your microphone during every stream. Addressing it with furnishings you likely already have (or can add cheaply) often matters more than any microphone upgrade.
Bringing it together
Work through the setup in this order: light your face first, position the camera at a natural eye-level angle, then dial in microphone distance and room treatment. Each step costs little and mostly comes down to placement, and together they close most of the gap between a stream that looks amateur and one that looks intentional — well before any hardware upgrade becomes the limiting factor.